ENSURE YOU HAVE 3360 OR LATER MMI SOFTWARE! SELECT "CAR", "VERSION" TO CONFIRM. IF YOUR VERSION IS OLDER THEN DO NOT CONTINUE UNTIL YOU UPGRADE VIA YOUR DEALER OR SELF UPDATE (SEE NAVPLUS.US FOR MORE INFORMATION)
INSTALL TIME: UNDER 15 MINUTES
1) Eject all the CD's from the Changer
2) Power off the car and wait for the car to go to sleep mode (e.g. nav/mmi power goes off)
3) Open the Glove box and use the radio/changer pull tools (in the AMI module box) to pull the changer out. When you insert the tools they basically pull the locking clips back to allow for the unit to come out. The tools should go ALL the way in, if they don't bend the long end up slightly and try again. Be careful not to break the tool, you may have to apply a little force to insert the tools but VERY little force to pull the changer out once the tools are inserted!
4) Once the changer is out, carefully disconnect the fiber cable pushing on the connector clip to pull out the connector, do NOT bend or be forceful with this cable as it will be MEGA expensive to change it!
5) Pull out the power cable from the CD Changer.
6) Place the AMI module near where you pulled the changer out of.

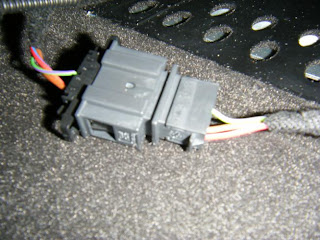
7) Connect the Retro Power Wiring harness to the existing CD Power Cable (See comment above in prep)
8) From the back of the AMI unit remove the fiber protective sleeves (very small covers on the fiber connector, these protect against dust, etc going into the fiber reciever ends, once you remove these be VERY careful on where the AMI unit ends up, e.g. don't move it around much to avoid getting dust in the connector socket.
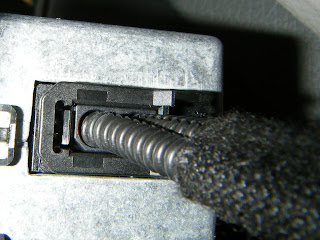
9) Connect the Fiber connector CAREFULLY, it only goes in one way, it will click in when set.
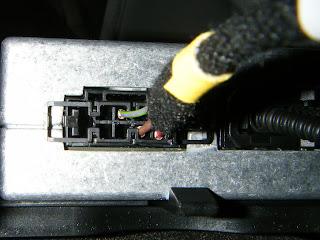
10) Connect the power connector for the AMI (labeled) from the retro power cable you have plugged into the pre-existing CD Changer Power cable (NOTE: the connector labeled CD Changer will NOT be used)
11) If you are daring you can try the setup now, plug your iPod cable connector into the AMI module (snap open the front of the AMI), plug your iPod in, power on MMI and verify it works. If you did test it this way then ensure you properly power down MMI and wait for the car to go to sleep mode before continuing.
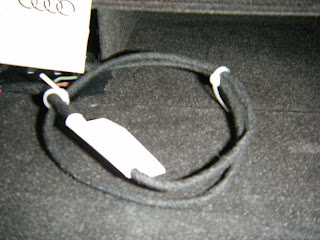
12) Fold the power cable into a smaller loop and tie it with pull ties - this will make it easier to slide the AMI unit into the slot.
13) Slide the AMI unit into slot, ensuring the fiber cable slides perfectly back and doesn't seem to be bending. You may need to position the tie wrapped power cable behind the unit prior to sliding back if it tries to ride up the top of the AMI unit.
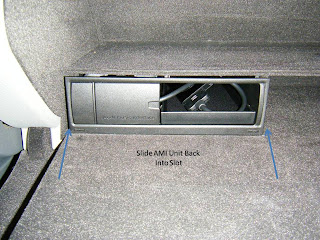
14) Once the unit is set as pictured above, push it further until it click/locks into place
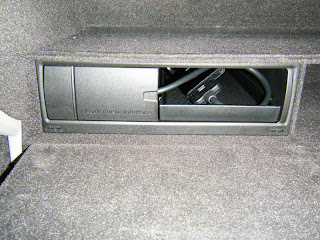
15) You can now in plug in the iPod adapter cable into the AMI front door (lift open the front door to insert the cable. Then plug in your iPod as shown below.
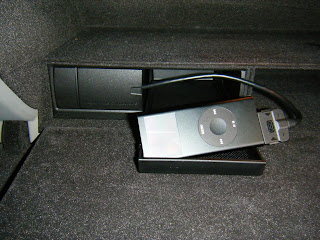
16) You are done! Now power on MMI and select the CD button. Your iPod will show an Audi logo
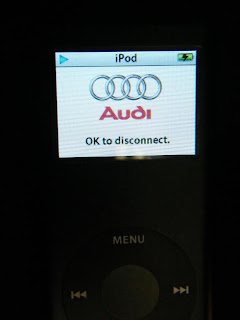
MMI will also show the following
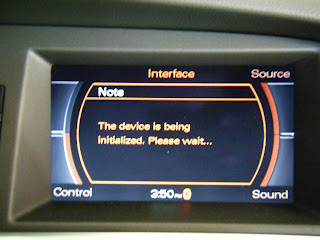
17) The first Album will normally play after the init of the iPod
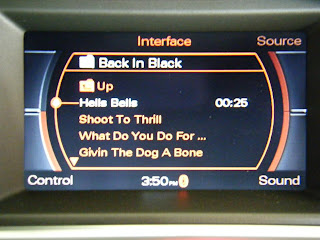
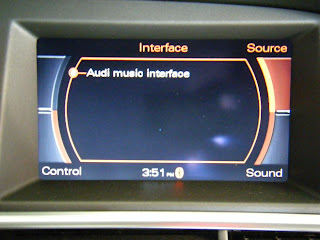
18) If you select "Source" from the menu, it will only show AMI (if you followed the steps above and DID NOT keep your CD Changer)
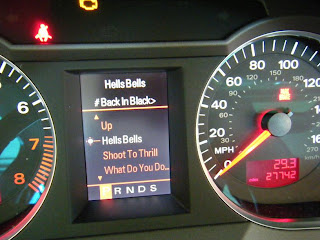
19) Song information is shown on the Dashboard TFT
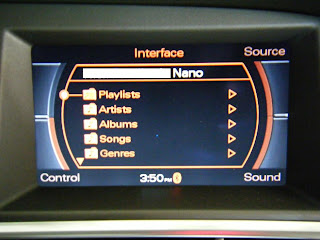
20) If you go up the menus, the main screen lets you choose Playlists, Artists, Albums, Podcasts, etc
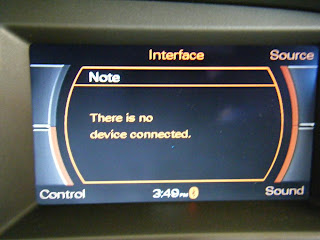
21) If you don't have your iPod plugged in you will get the following message
All this required no recoding or component protection lifting! All in all a fast install of AMI.
