Thursday, March 13, 2008

Step by Step Instructions - Replacing 2006 A6 Avant CD Changer with AMI

Prep: Ensure you have the AMI module (part numbers below) and the retro wiring kit (fiber + power cable). I have heard from some users that the power cable from the existing CD works, however on my car I noticed a different wireout to the cable. I would like more info on if others got the existing CD power cable to work and didn't need the retro cable.

ENSURE YOU HAVE 3360 OR LATER MMI SOFTWARE! SELECT "CAR", "VERSION" TO CONFIRM. IF YOUR VERSION IS OLDER THEN DO NOT CONTINUE UNTIL YOU UPGRADE VIA YOUR DEALER OR SELF UPDATE (SEE NAVPLUS.US FOR MORE INFORMATION)

INSTALL TIME: UNDER 15 MINUTES
1) Eject all the CD's from the Changer
2) Power off the car and wait for the car to go to sleep mode (e.g. nav/mmi power goes off)
3) Open the Glove box and use the radio/changer pull tools (in the AMI module box) to pull the changer out. When you insert the tools they basically pull the locking clips back to allow for the unit to come out. The tools should go ALL the way in, if they don't bend the long end up slightly and try again. Be careful not to break the tool, you may have to apply a little force to insert the tools but VERY little force to pull the changer out once the tools are inserted!
4) Once the changer is out, carefully disconnect the fiber cable pushing on the connector clip to pull out the connector, do NOT bend or be forceful with this cable as it will be MEGA expensive to change it!
5) Pull out the power cable from the CD Changer.
6) Place the AMI module near where you pulled the changer out of.

7) Connect the Retro Power Wiring harness to the existing CD Power Cable (See comment above in prep)
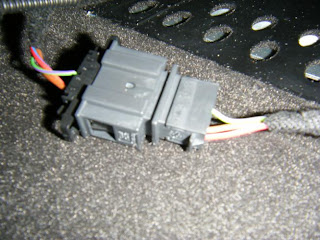
8) From the back of the AMI unit remove the fiber protective sleeves (very small covers on the fiber connector, these protect against dust, etc going into the fiber reciever ends, once you remove these be VERY careful on where the AMI unit ends up, e.g. don't move it around much to avoid getting dust in the connector socket.
9) Connect the Fiber connector CAREFULLY, it only goes in one way, it will click in when set.
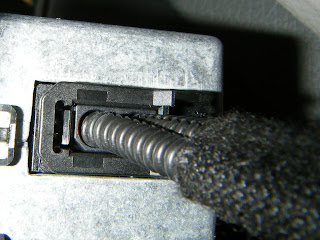
10) Connect the power connector for the AMI (labeled) from the retro power cable you have plugged into the pre-existing CD Changer Power cable (NOTE: the connector labeled CD Changer will NOT be used)
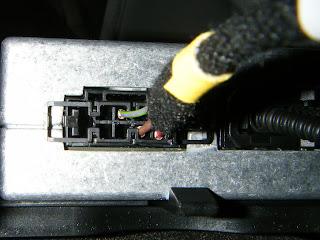
11) If you are daring you can try the setup now, plug your iPod cable connector into the AMI module (snap open the front of the AMI), plug your iPod in, power on MMI and verify it works. If you did test it this way then ensure you properly power down MMI and wait for the car to go to sleep mode before continuing.
12) Fold the power cable into a smaller loop and tie it with pull ties - this will make it easier to slide the AMI unit into the slot.
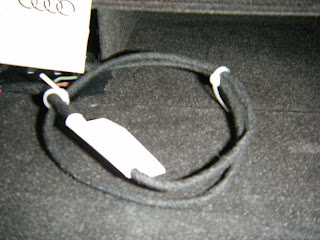
13) Slide the AMI unit into slot, ensuring the fiber cable slides perfectly back and doesn't seem to be bending. You may need to position the tie wrapped power cable behind the unit prior to sliding back if it tries to ride up the top of the AMI unit.
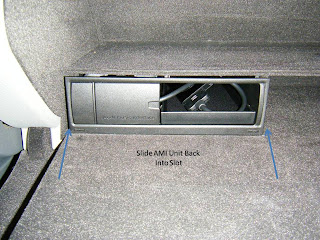
14) Once the unit is set as pictured above, push it further until it click/locks into place
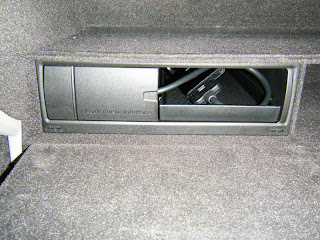
15) You can now in plug in the iPod adapter cable into the AMI front door (lift open the front door to insert the cable. Then plug in your iPod as shown below.
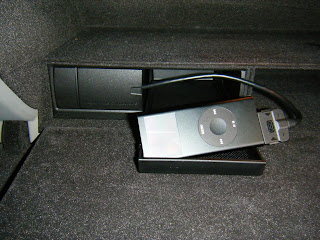
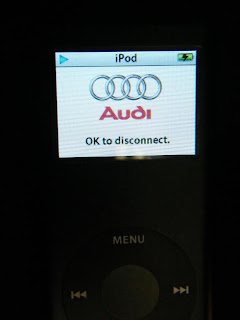
16) You are done! Now power on MMI and select the CD button. Your iPod will show an Audi logo
MMI will also show the following
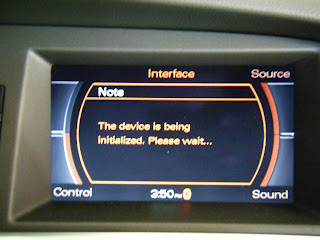
17) The first Album will normally play after the init of the iPod
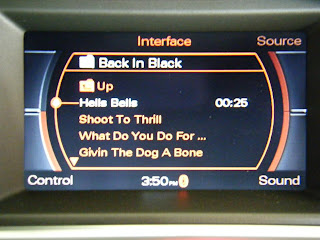
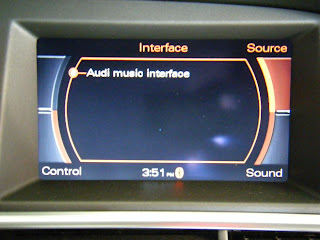
18) If you select "Source" from the menu, it will only show AMI (if you followed the steps above and DID NOT keep your CD Changer)
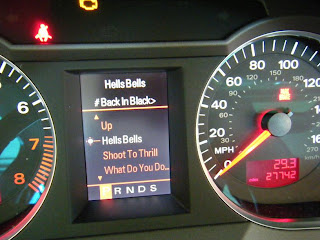
19) Song information is shown on the Dashboard TFT
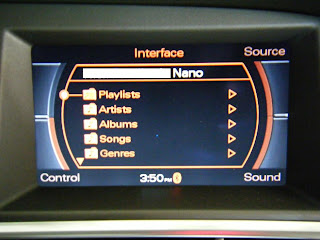
20) If you go up the menus, the main screen lets you choose Playlists, Artists, Albums, Podcasts, etc
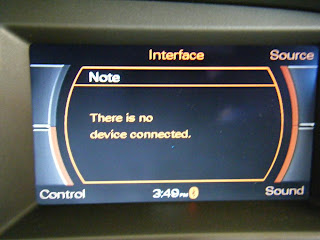
21) If you don't have your iPod plugged in you will get the following message

All this required no recoding or component protection lifting! All in all a fast install of AMI.

Belated Installation of AMI on my Audi A6 Avant - Installation

I cracked open the instructions from Navplus (linked below) and had all the tools ready. My car was already at 3360 software from the dealer a few weeks before - if you do NOT have 3360 or later, STOP until you get the car updated.

I Turned on the MMI unit, ejected any discs from the CD Changer just in case...

As I was about to start looseing the Glovebox I first used the Changer/Radio pulling tools (they came with the AMI module) and got the changer out. Upon removing the changer I noticed the fiber/optical cable was identical to what goes in the AMI, however the power connector was different.

As an experiment I decided to disconnect the CD Changer and try the AMI on it's own with no changer. Plugged the CD changer fiber into the AMI then lugged the power wiring harness that comes in the retro kit to the existing CD Changer power cable. Followed by plugging in the he AMI labeled end of the retro power cable into the AMI unit (the CD Changer connector on the new cable was NOT connected). Connected the iPod cable to the AMI connector (snap open the lid on the front of the AMI) and connected my iPod. Started up the MMI again and noticed that my Nano showed an Audi logo! Hey AMI is connected! Then switched from XM to CD, noticed it said "The device is being initialized", checked the sources and it ONLY showed the "Audi Music Interface" Woohoo.... within a few seconds my first artist (AC/DC) was playing with perfect quality. All the browse controls worked.

My only limitation is that I have no CD Changer, but with an iPod I really wasn't planning to ever use the changer again.

I took the power cable and curled it around and put pull ties on it to make it fold back nicely, ensured the fiber cable was OK and pushed the AMI unit into the slot the CD changer was in. Clicked in to lock perfectly!

So with NO disassembly of the glovebox or having to resplice the fiber cable (didn't even use the retro kit fiber cable), I had my Audi Music Interface working perfectly with my A6 Avant. Install time, 15 minutes!

See the step by step with photos in the next entry.

Belated Installation of AMI on my Audi A6 Avant - Preparation

I installed the AMI kit on my Audi A6 Avant (US Spec 2006 MY) this afternoon.

I referred to a users post on Navplus.us and prepared to do what he had done (see: Thread on Audi Forums.US (Former Navplus forum link is dead)) However I quickly realized that I could adapt the install to ONLY support AMI and not keep the CD changer - thus making the install a piece of cake!

The parts I needed were:
4F0 051 592 A - AMI Retrofit Kit Cable
(Includes a Power cable adapter that takes the existing CD Changer power connector and splits it to the CD Changer and to the AMI module)
(Also includes the fiber cable to split off from one of the CD Changer splices to the new cable that connects to AMI then reconnects the split splice on the changer)

4EO 057 786 B - AMI Module
(Includes the housing and slider tray to hold the IPOD, Ironically shows up in Audi's system as a CD Changer, IT IS NOT a CD Changer!)

4F0 051 510 A - iPod Connector Cable
(can use other cables also, see Audi A6 Accessories)

Thursday, January 3, 2008

AMI Retrofit for my 2006 A6 Avant

Greetings,

Since the first day I've had my 2006 A6 I've looked for a way to get an aux input on the MMI system for an iPod. Coming up short handed the only option I was left with was a Kensington FM Transmitter. I went through 5 different FM transmitters until I found the Kensington one. Even though it isn't perfect it was far better than the other ones in the market. Being in Southern California we don't have a wide variety of open FM channels, so I'n having to hop the Kensington FM Transmitter to different channels quite often.

When AMI got launched on the newer model year cars I held out hope that a retrofit kit would be offered. Well it's here but not publicly acknowledged by Audi USA, so I thought a blog dedicated to getting information in one place would be handy.

I'm going to leave commenting on - I'm also going to keep any info I or others find updated here. So please feel free to comment to any of the postings.